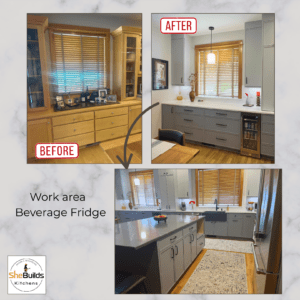
You often hear about before AND after. In this case we’re going to show you the process, before THROUGH after.
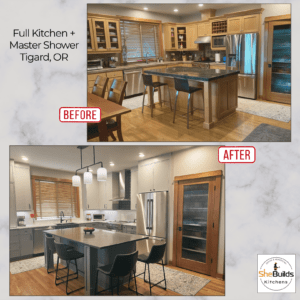
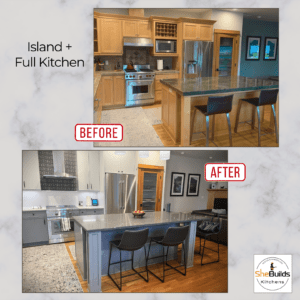
Here’s what this recent kitchen renovation looked like before we got started. You’ll notice lots of oak, windowed cupboard doors and a dark countertop on the island. Ther only lighting is in the ceiling. This client wanted to transition to a cooler color palette, add pendant lighting and function in the cabinet layout.


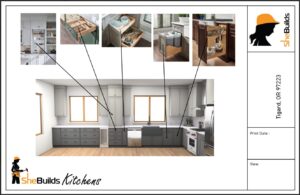
Here’s a page from the 3D Renderings for the new space.
It’s amazing to get a glimpse into the space before the build begins. The pop-up windows give a peek into each design element. Such a great way for clients to plan and be able to envision the function of the space once design becomes reality.
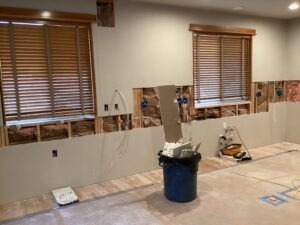
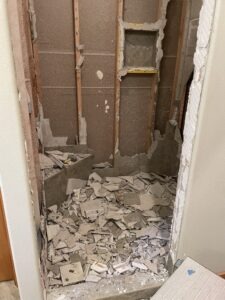
Next up is “Demo Day.”
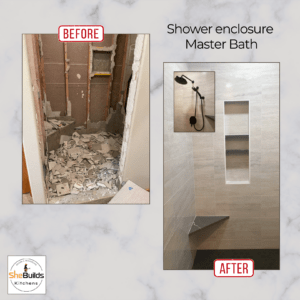
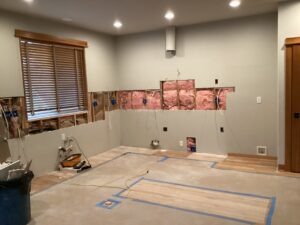
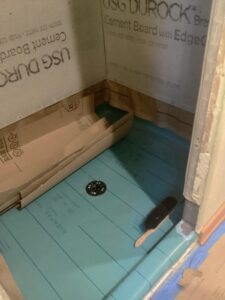
The saying goes: “Out with the old and in with the new.” Demo is actually a less messy job in most cases than what you see on home improvement shows TV. Great care is taken to protect and preserve space where possible. When it comes to the shower tile though…we have to break it to remove it. Notice the full garbage can in the space and the relatively clean floor in the main kitchen area. You can see an outline on the floor where the new island will be installed. Once all the tile remnants are removed from the shower, the transformation can begin.
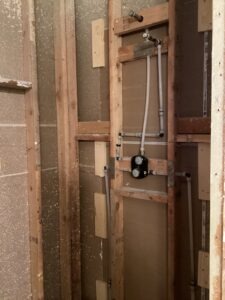
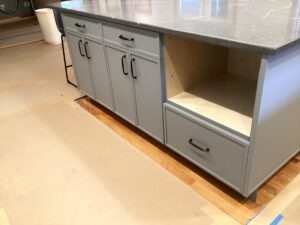
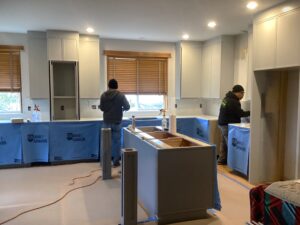
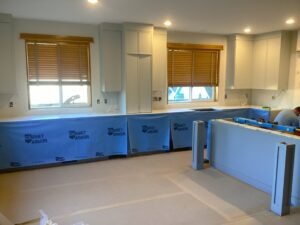
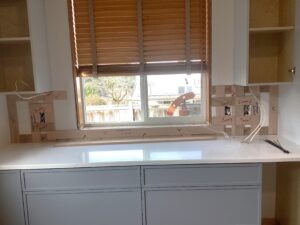
After demolition, it’s time for installation.
Here are a few photos of the new design elements as they begin to take shape.
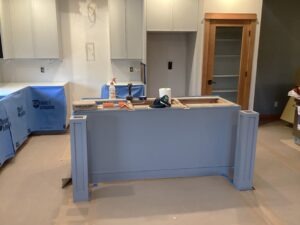


After weeks of planning and hard work are invested to bring a project to completion.
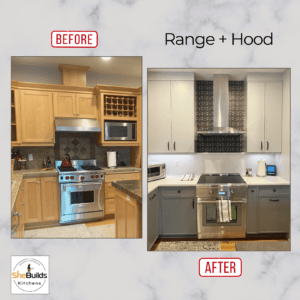
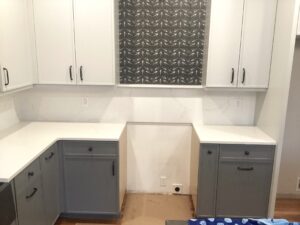
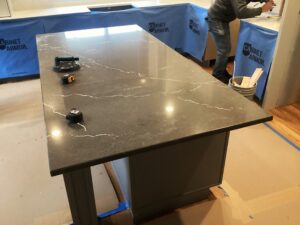
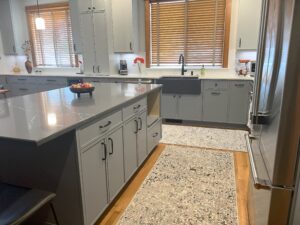
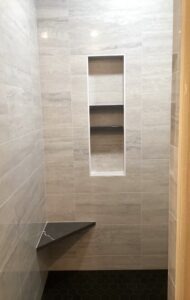
Here are some photos of what the kitchen and shower look like today:


We hope you’ve enjoyed this glimpse into the life of a renovation project. Here are a handful of side by sides to really help you see the transformation: